Hello Folks,
This tutorial was posted sometime last year. I am only re-posting it because of it's popularity and also because I am trying to give the blog a face lift so that the top tool bar doesn't become too clogged up and I can have a page with links to the tutorials. Without further or do here it is.
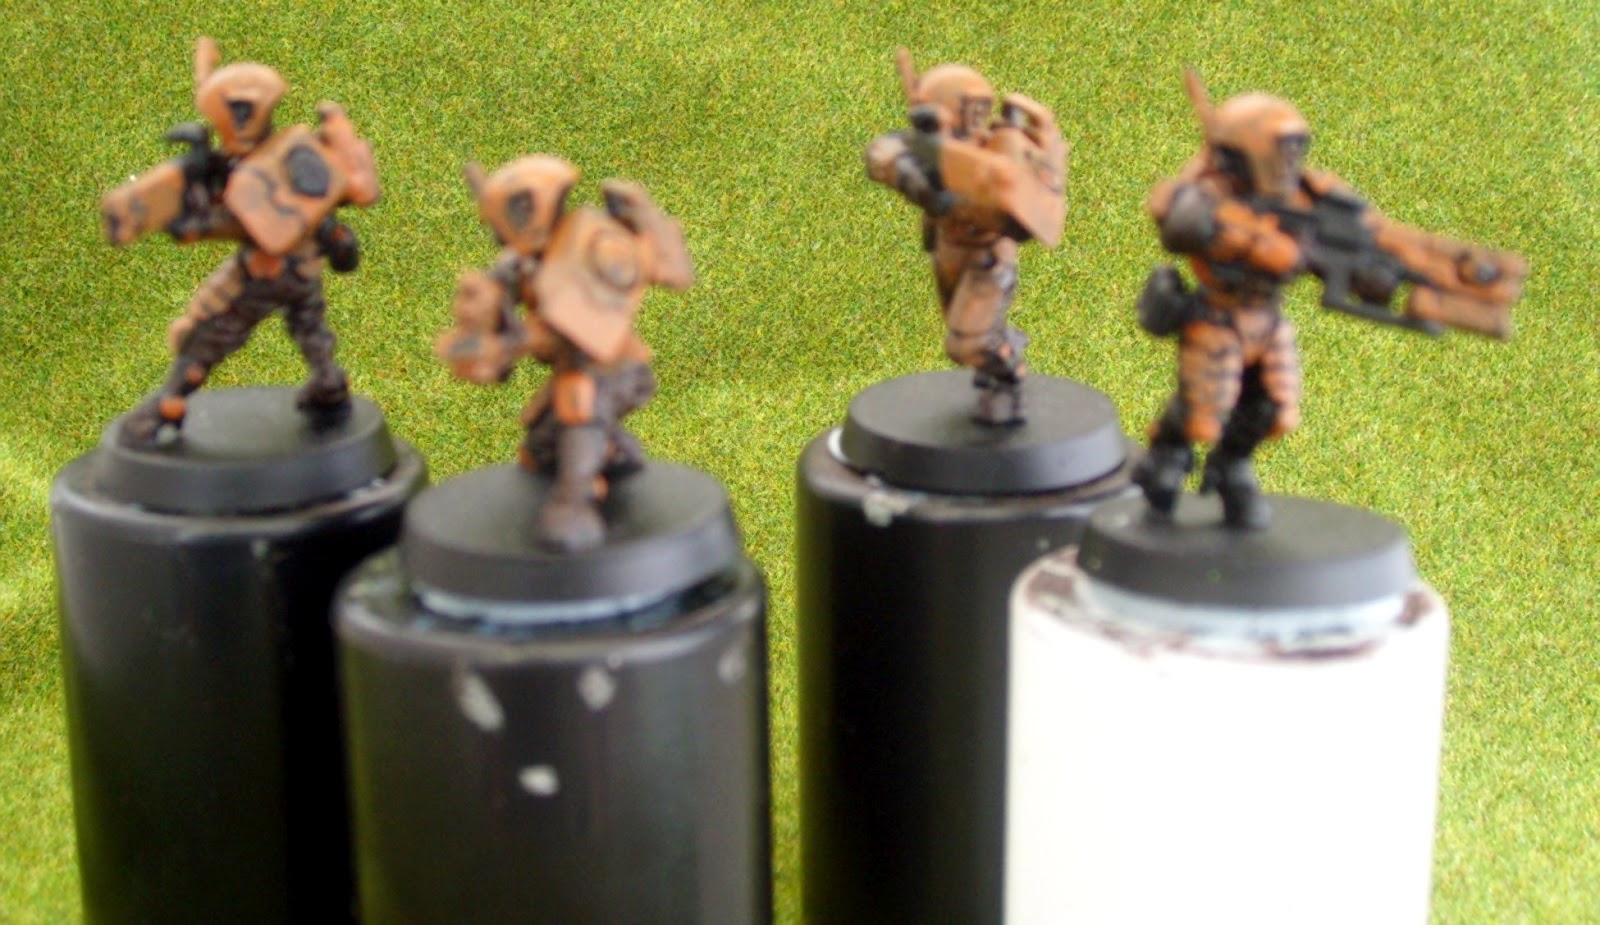
Step 1- Is the easiest step to do, start by cleaning up the models and gluing them etc (take note that you should use polystrene cement glue NOT super glue as it becomes weak and brittle after a few weeks). Then prime them with a white undercoat. Like so:

Step 2 - Apply the base layer of the skin as it has the largest surface area. I did this using Foundry 25B Bright Green. Or any mid tone bright green or any mid tone if you are doing a different colour scheme. You can block in the paint, but at this point I am not really caring too much if I paint over other parts of the models. It should look like this:

Step 3 - After waiting for the base layer of green to dry I apply a dark green wash. The wash should have the same consistency as an almost Full Fat Milk but not as watery as semi-skimmed milk. :) This should be darker at the hands, feet, torso and armpits. The wash should also dull down the green but leave some natural highlights which will save a lot of time for the later stages. So here is how they should look just now. (I should say that for these stages I use a No.4 brush):

Then before I start with anything else I add a black lining at his shoulder (any black will do) to show the difference between arm and fabric, like so(I don't need to do it anywhere else as the dark green was should take care of that) :
Step 4 - I then start to apply the base colours for the leather strap, bandages and straps around the gun. I used the Foundry Drab 12A, that is a light tan brown (I now switch to a 3 brush or anything equivalent to a citadel standard or base coat brush, it just depends on how confident you are).
And now some close ups of this stage, so you can see what your model should look like now, but remember we are still in the starting stages of the figure so don't get down if it doesn't look the part yet :)
Step 5 - Now we can start adding highlights and begin to work on the gun as well. For the highlights we go back to our green mid tone and pick out the areas you want lighter for further highlighting on the skin. Then for the fabric you can mix the base colour with a colour similar to or exactly like Raw linen 30C, this should be a 60:40 mix (Drab:Linen) OR if you feel really confident you can apply the Raw linen to the Drab whilst it is still wet but it will still give you the same effect :). For the gun I give the metal areas a black wash with the same consistency as semi-skimmed milk. And this is how it should look so far:


Step 6 - Now we start adding the lighter highlights to the skin, for this I used Foundry Bright Green 25C but you can use any light green that goes well with your mid tone. Also I drybrush the metal on the guns. For this I just used old style GW Boltgun Metal but you can use any metallic silver paint. I also paint all of the under belly. I apply a base of Drab 12C ( or any light tan) and apply the main colour of the skin of the belly, I used the Raw Linen 30C. So use the same colour as the one you used to mix with the Drab for the leather. Also for the gun hilt apply two layers of the scorched brown or any other dark red brown. Also paint the small stitches that hold the leather together scorched brown. This is the longest stage in the process but it is the one where you can do the most in. So here are the pics:


Step 7 - This is the stage where you can paint ALL of his spikes and claws black. You can also use any extra black that you have on your brush to wash over the gun to make the raised areas stand out. The bandages are now finished off with a drybrush of Raw Linen 30A or any other light tan. The small bits of string on his arms should be done in the same way. Here's how he should look:
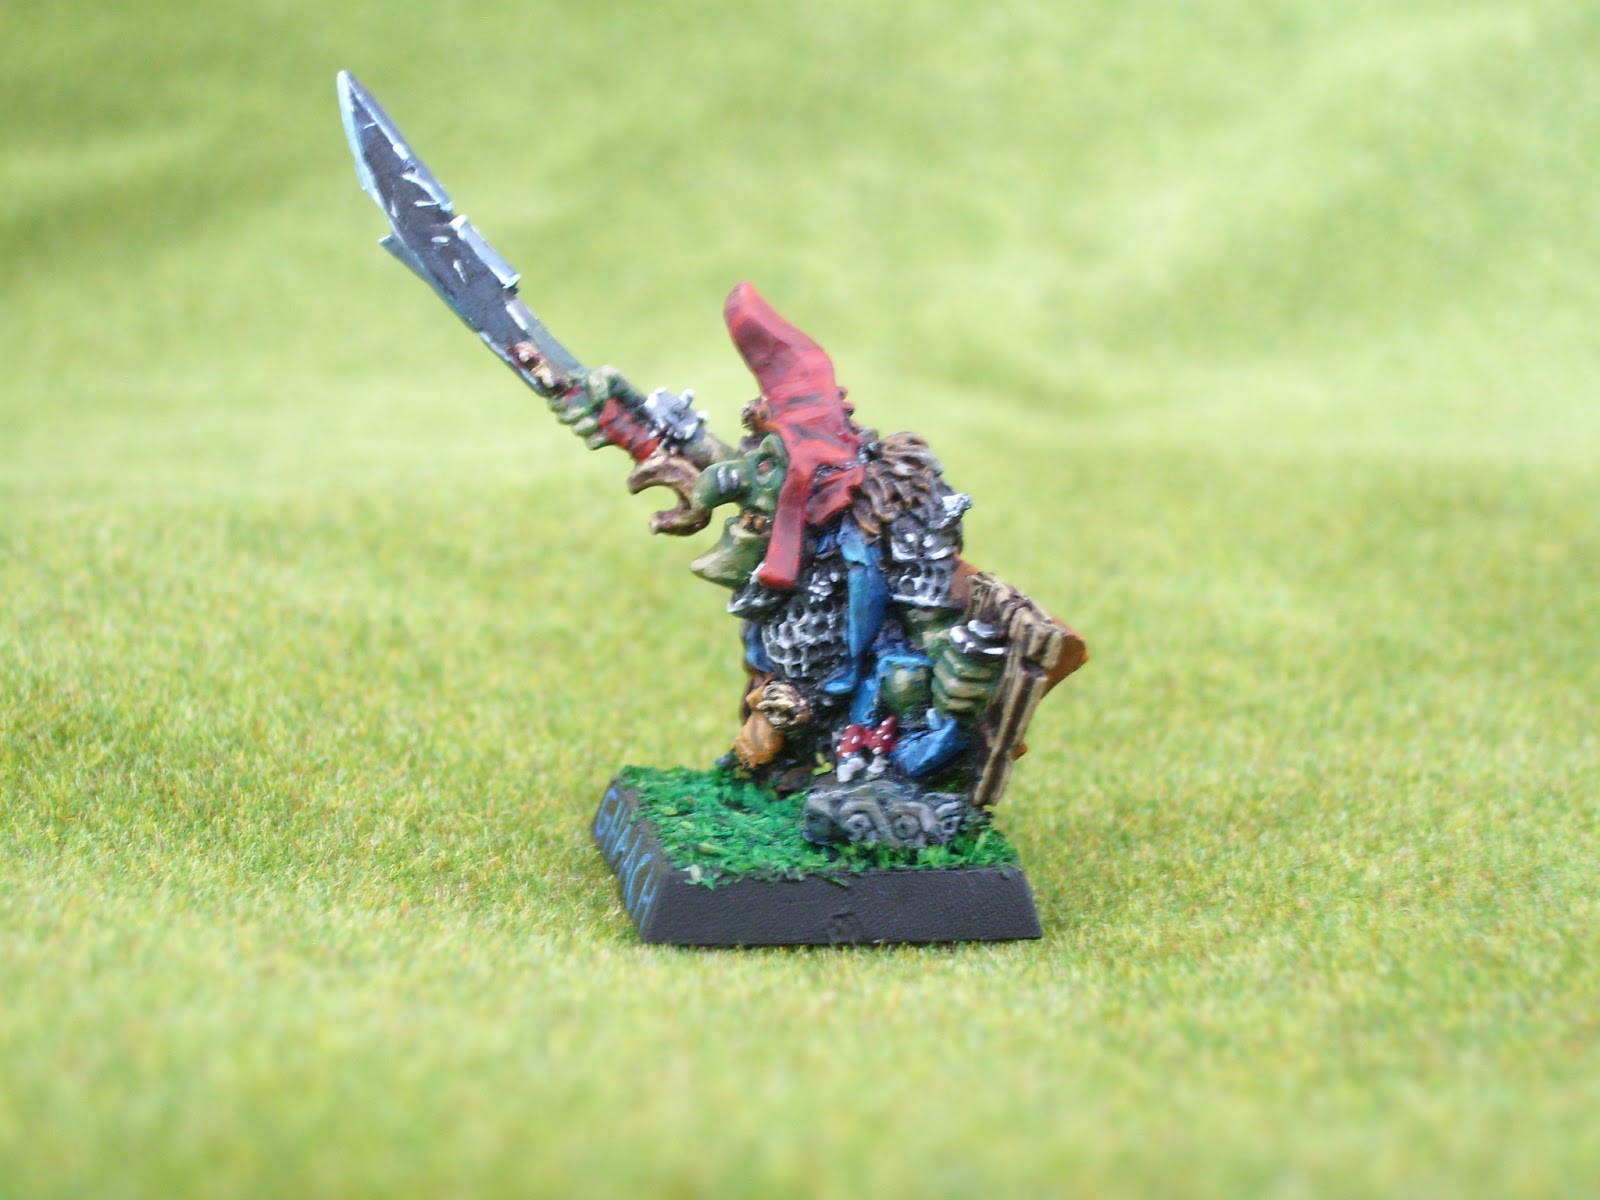
Final Step - This is where all the little bits of detail are done, for example the silver triangles on the end of the string, sometimes there are gold bangles but the most fun of all is the hair. The hair can be done with a colour of your choice and make sure you use white for the dots. Have a look at the picture below so you know how to apply the paint. Also do the same for his body spike BUT not the toe nails or fingernails as he looks stupid with his nails painted.
And once you have painted enough of these guys, why not base them with grass to make them a part of the battlefield. To give you an idea of timing, it took me about 3-4 hours to paint them, that is also counting the time it took to take the pictures, so here is a group shot of them all done. Hope this was helpful :). Thanks for reading and please leave feedback in the comments. All feedback is appreciated. :D