This tutorial was posted last year on the tab section, but I am trying to tidy up my top bar so I have to post it again so that I can link it. So far this has been viewed quite a lot, whether that means a lot of people have been using it, I dont know. However this is much simpler than the GW one, since this is 5 easy to follow steps rather than the 135 steps listed in GW tutorials. Here it is:
Step 1- Clean up the figures after cutting them off the sprue and gluing the with polystrene cement. Once dry, prime them with a black undercoat.
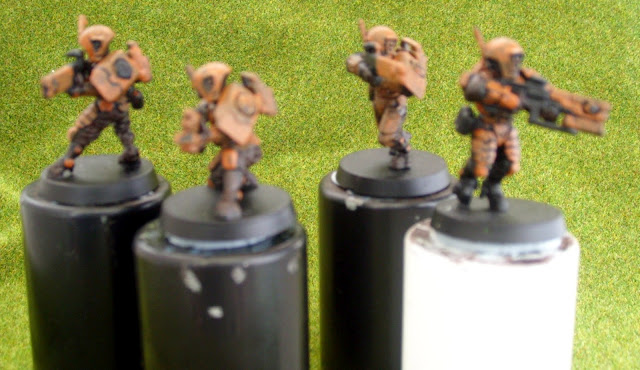
Step two - Apply the base colours for the armour, gun and the fabric and the back bit of the helmet.
The armour and end bit of the gun was painted with the new Games Workshop Skrag Brown, the fabric and helmet area was painted with Rhinox Hide. (Sorry about the blurred picture).
Step 3- Apply the first layer of the armour and gun with Tau Light Ochre from the new paint range. Re-apply for a second layer, then cover over any areas on the brown that have taken some accidental paint on them with Rhinox Hide. You can also paint in the black on the gun if any paint is on it that shouldn't be. You can use Chaos Black for that.
 |
| First Layer. |
 |
| Second Layer. |
 |
| Brown and Black painted in. |
Step 5 - The final stage is to lighten the armour and gun further by mixing a light flesh with Tau Light Ochre. The grenades were done the same as the black of the gun and the inside of the grenade was done with mordian blue base and highlighted with Tomb Blue B or Ice Blue. The white signatures were applied randomly. Squad markers were painted on with Tomb Blue B or Ice Blue. Gems were also done, Black - Red Gore - Blend Blood Red - Blend small highlight of Macharius Solar Orange - White added in the opposite corner. And gold to the ball bearings in the gun.
 |
| Symbols and Further Highlighting. |
 |
| Gems. |
 |
| Grenades. |


No comments:
Post a Comment